Tips Blog
TIP - BACK VS RUNNING
Lately I've been creating a lot of 3d designs - which means a lot of joining is required! Some of these designs include my adorable SNOWBALLS & BELLS; the TOP HATS that are so popular; our 3D LOVE & PEACE ORNAMENTS; and our newest BIRDHOUSE ORNAMENTS!
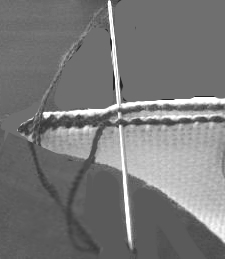
Now I must admit, the birdhouse is assembled over a cardboard base using white glue, LOL, but for the others I've been doing this by outlining each piece with a row of stitching, and slip stitching. So to join two pieces together, we fold the seam allowances to the inside, and lined up the outlining, then slip-stitched through BOTH outline stitches, like this:

But that brings me to today's topic... what is the difference (and which is better), a backstitch, or a double-running stitch? I think they both have their places, and uses, and we're going to look at those right now!
BACKSTITCH: most commonly used in cross-stitch, this outline stitch crosses one stitch on the front, and two on the back, so you are always going 2-stitches forward, 1-stitch back to stitch, like this:

The advantage of this stitch is that that long looping strand across the back of the fabric helps cover needle holes, giving your outlining a smoother look. However, I don't recommend backstitching for a joining outline, BECAUSE that longer loop on the backside makes this stitch a bit looser to work with.
RUNNING STITCH: or more accurately a DOUBLE-RUNNING STITCH solves that problem. Most commonly used in Blackwork, where the object is to make both sides of the fabric look as much alike as possible, a RUNNING STITCH is worked across one stitch, then a stitch is skipped, the next one is worked, the one after skipped, and so on. To complete the pattern, a DOUBLE-RUNNING STITCH comes back down the row just created, filling in the missing stitches, like this (the top row is a running stitch, the bottom one (9-14) is a double-running stitch:

While both stitches LOOK very similar, they meet very different needs, so I hope you enjoy exploring their uses!